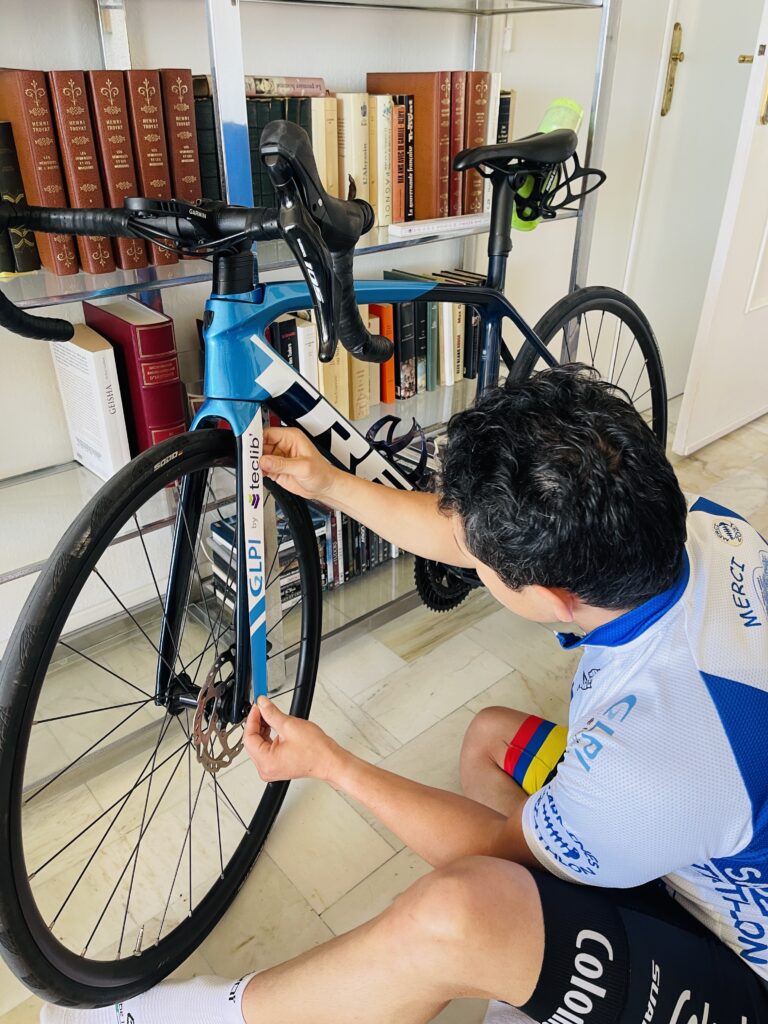
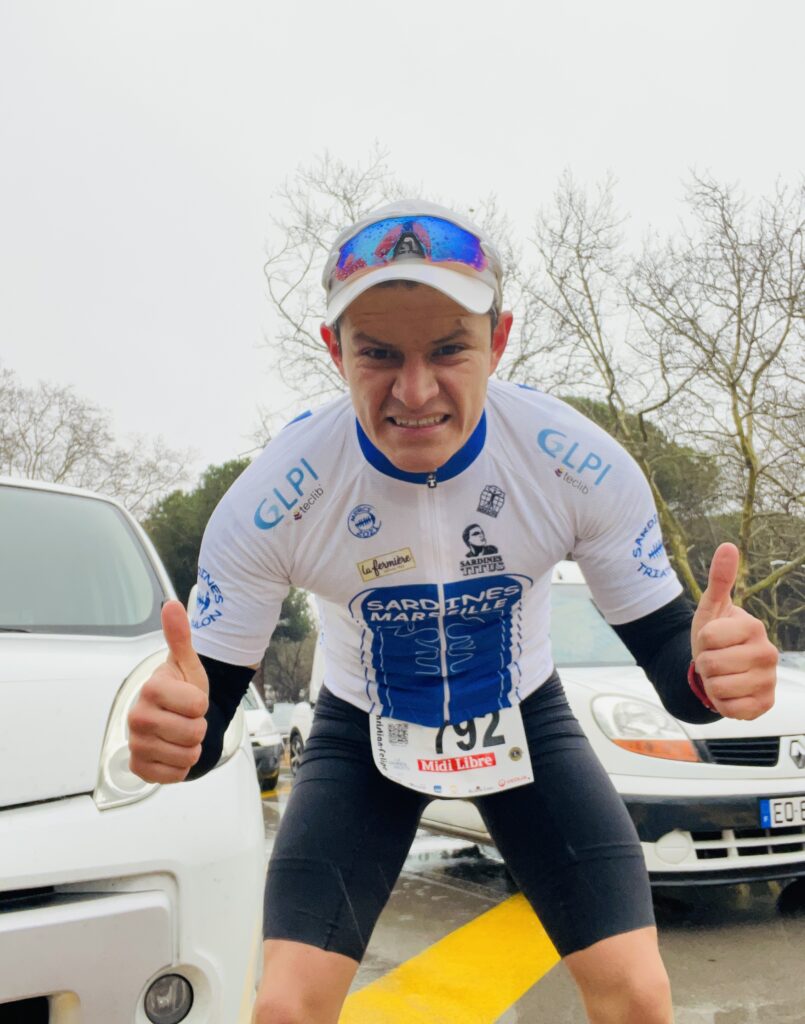
Teclib’ keeps supporting Christian. This time, in the “Challenge Paris – Nice” 🚴♂️ After only some days since the last race, our associate Christian Osorio Bernal, member of the Club Sardines Triathlon Marseille, is embarking himself, supported by Teclib’, into a new goal: “Challenge Paris – Nice“.
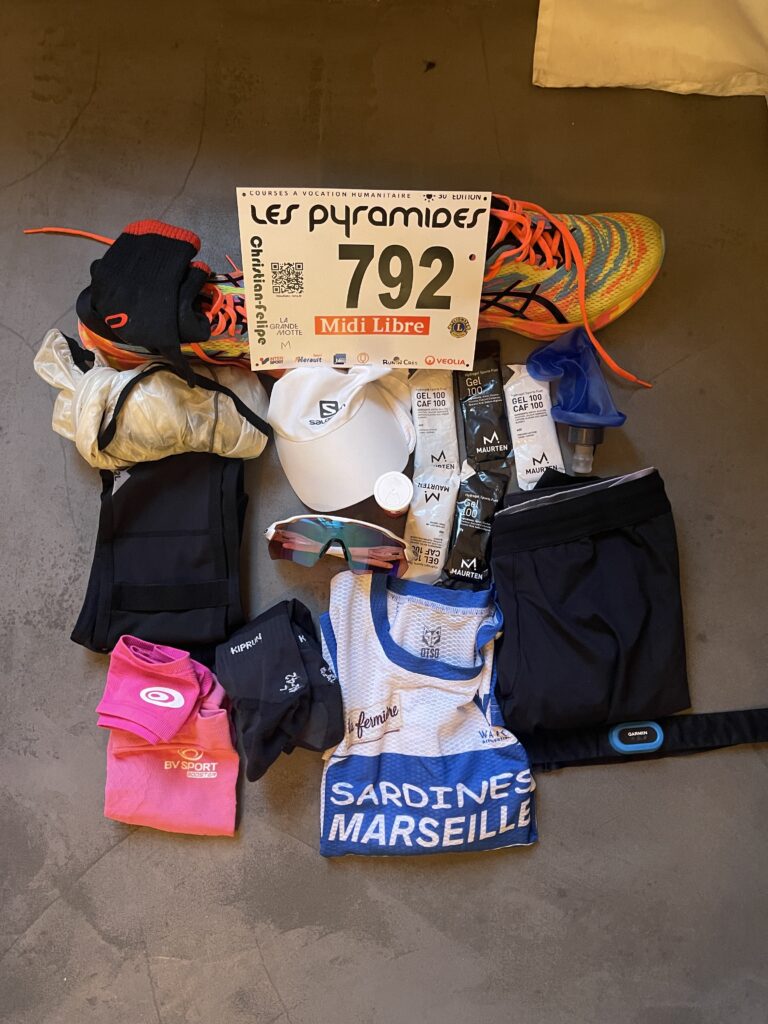
Christian is getting ready for the race.
We wanted to know how Christian was feeling previous to the race and he shared with us:
“A week after running the Grande-Motte Half-Marathon, here we are with Teclib on the eve of the Paris – Nice Challenge. Race which resumes the last stage of the “Race to the Sun” starting in cold conditions in Paris and ending with warmer temperatures in Nice. However, this year, cold, rain and snow are on the horizon! Another work of resilience, resistance and determination in sight!
I’m looking forward to being able to do a long outing with a lot of elevation gain, certainly not like the EmbrunMan, but the 140km and the 2800D+ will be felt 7 days after the Half-Marathon! This will allow me to take stock of the state of fitness at 5 months of the Alpe d’Huez triathlon!
So, despite the almost certain absence of sun, let’s keep smiling to warm the heart and enjoy the legs with unique landscapes and astonishing views.
Paris – Nice, Teclib’ and I are happy to be part of this challenge this Saturday March 9, See you tomorrow 😀”
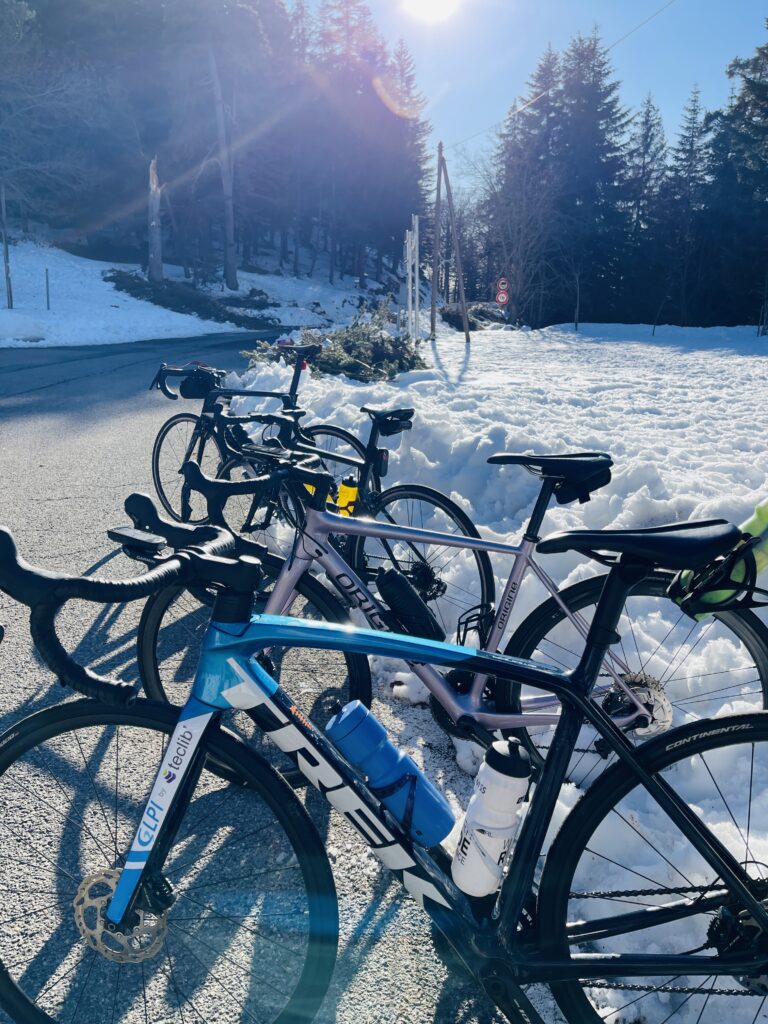
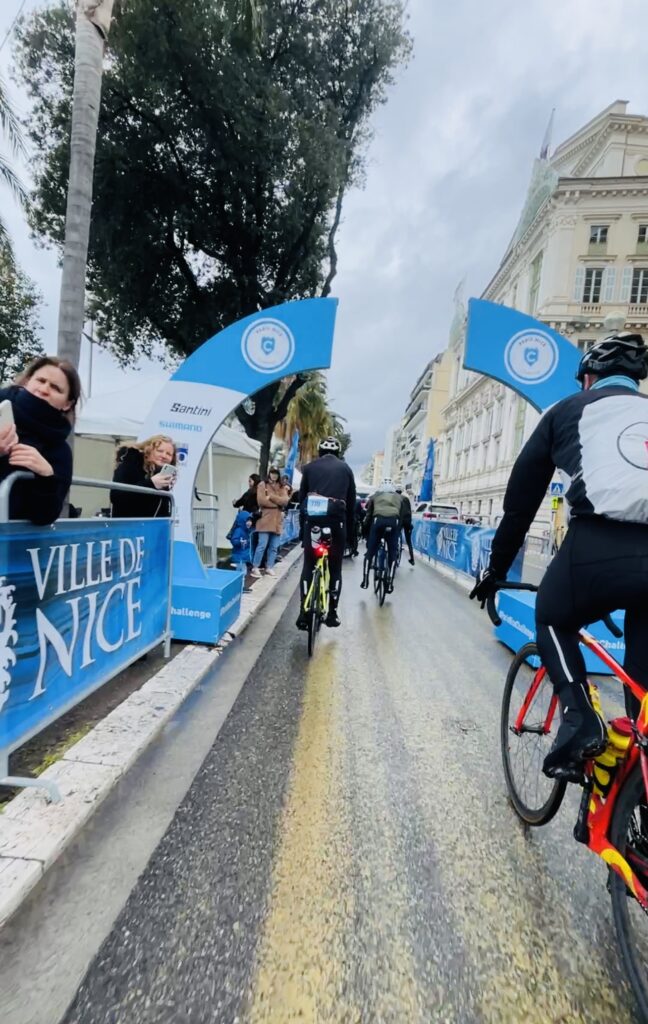
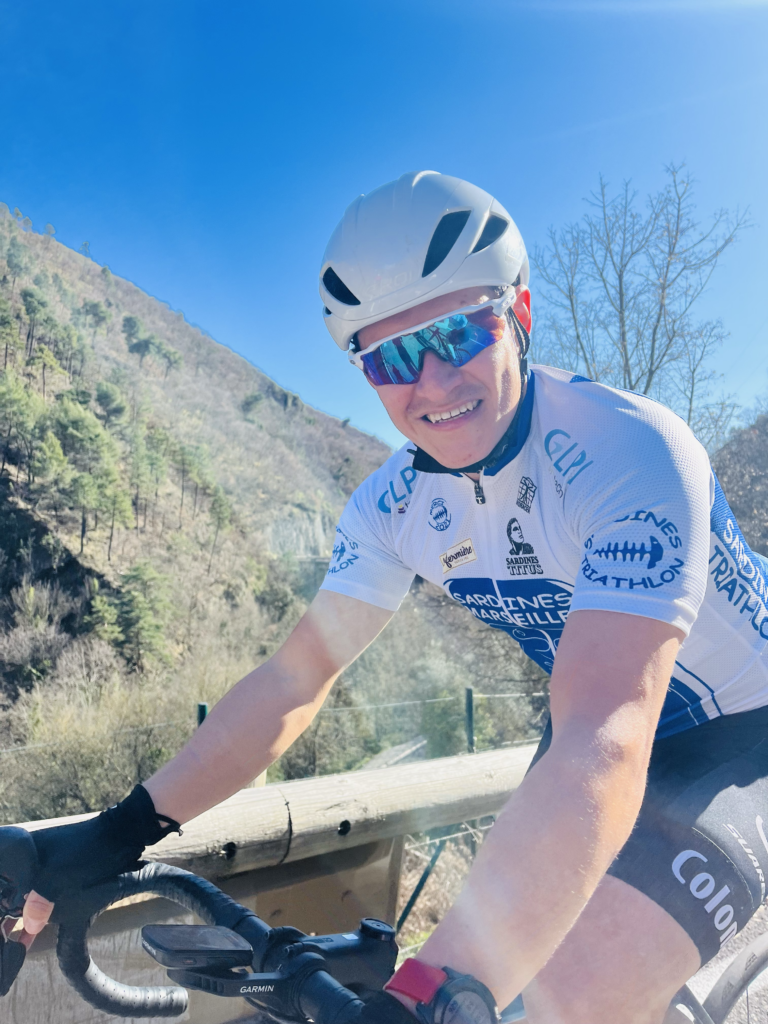
Here are some flashback images from the race!
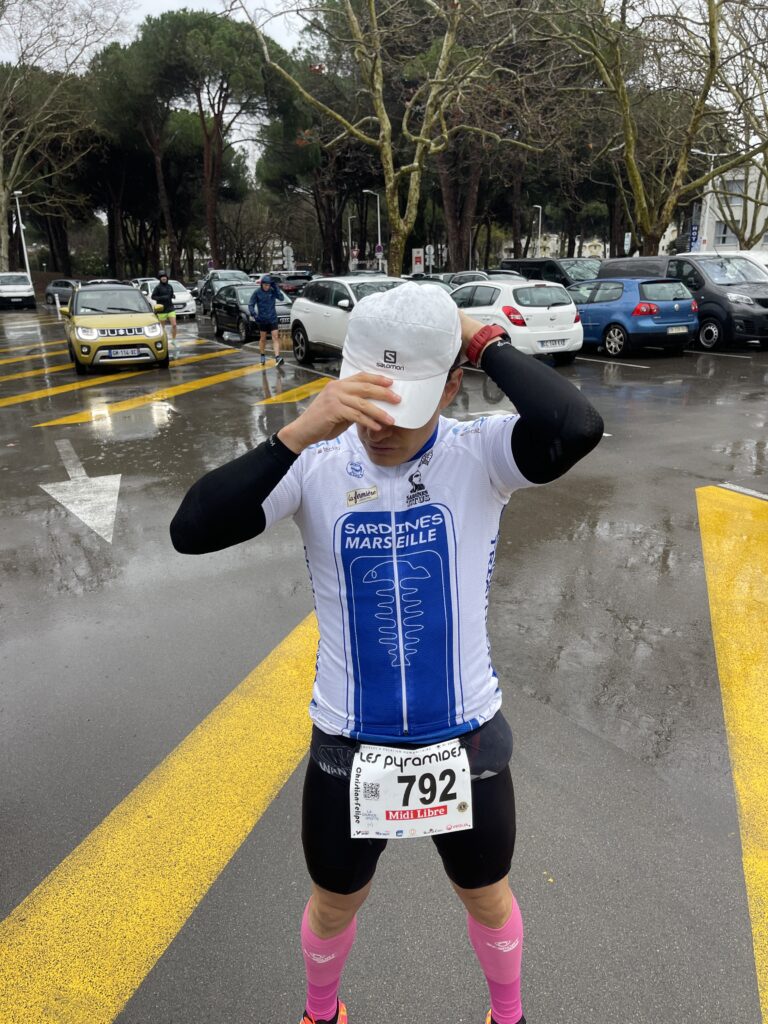
Christian during the race!
Today, March 11th, Christian has completed his race, and we are eagerly awaiting his initial impressions of this significant challenge! We were thrilled to accompany and support him throughout this journey, which held great importance for him.
Here’s what he shares with us:
“Rainy race… happy race… that was the attitude to adopt on Saturday, March 9th, at the 2024 Paris-Nice Challenge. Cold, rain, and slippery ground are never conducive conditions for achieving top results, but they do allow for a work of resilience, resistance, and determination. Essential qualities for the major goals of this year in July and September!
Good vibes and self-deprecation quickly took over, turning this course into a real challenge!
At the finish line, there was a taste of victory over oneself.
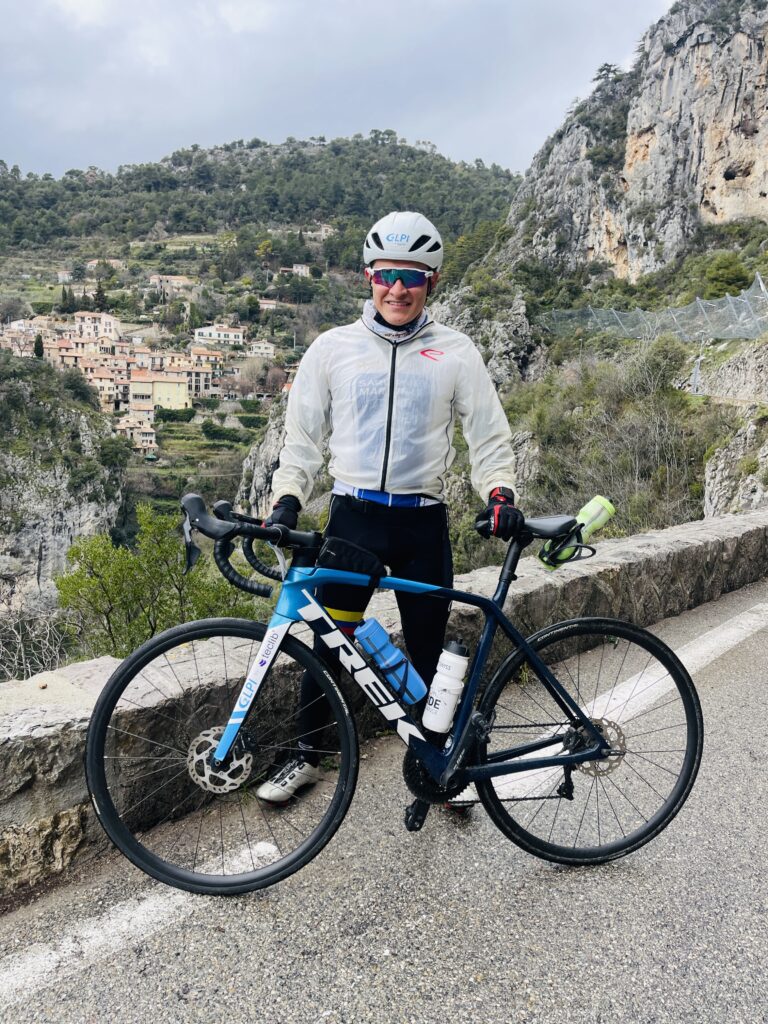
The body sends negative signals to stop being in uncomfortable conditions, but the mind only thinks about reaching the finish line. The landscapes and villages crossed were splendid… La Turbie, Col d’Eze, the great corniches, Villefranche sur Mer…
The fitness level was there, promising for the coming months as we begin triathlon and marathon preparations. I have fond memories of the last two climbs of this Paris-Nice, where a 14% slope for 2km almost made me put my foot down, especially the Col de Quatre Chemins segment!
See you soon for the next races with Teclib’ – the official editor of GLPI software.”
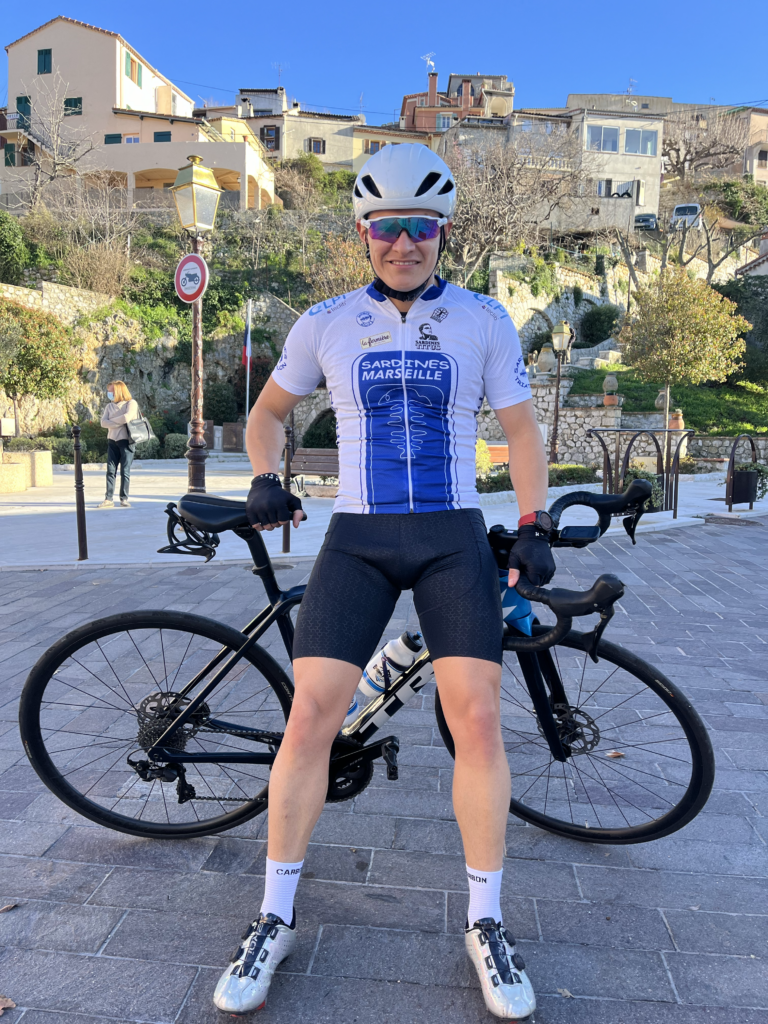
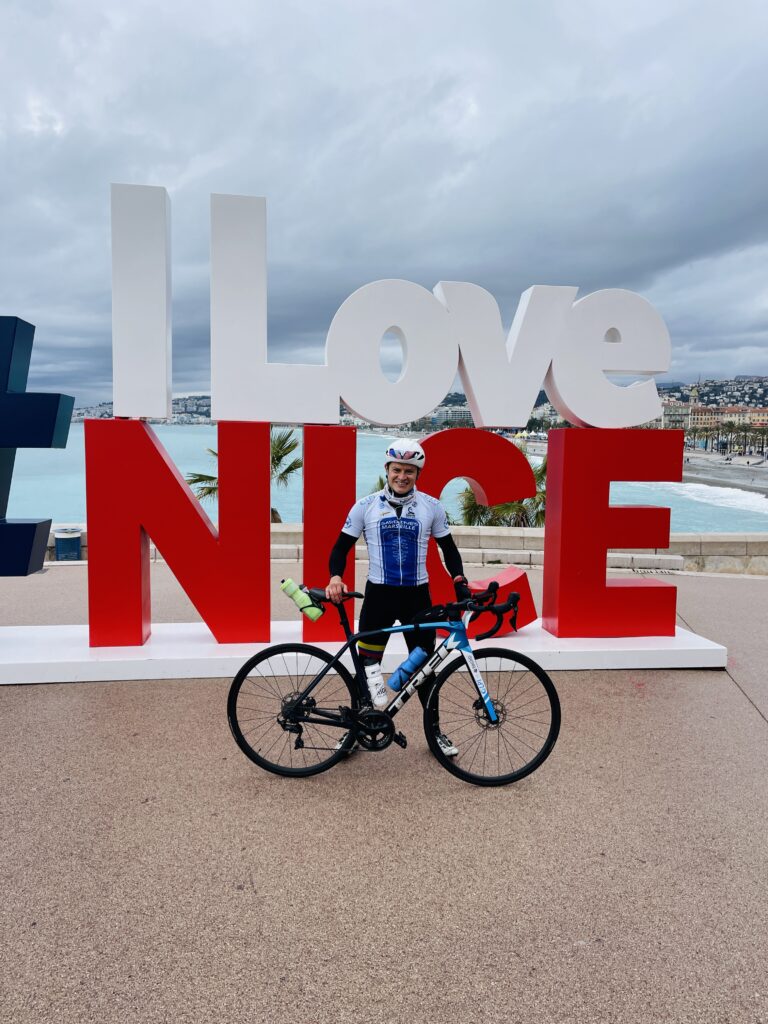
Christian has arrived in Nice!
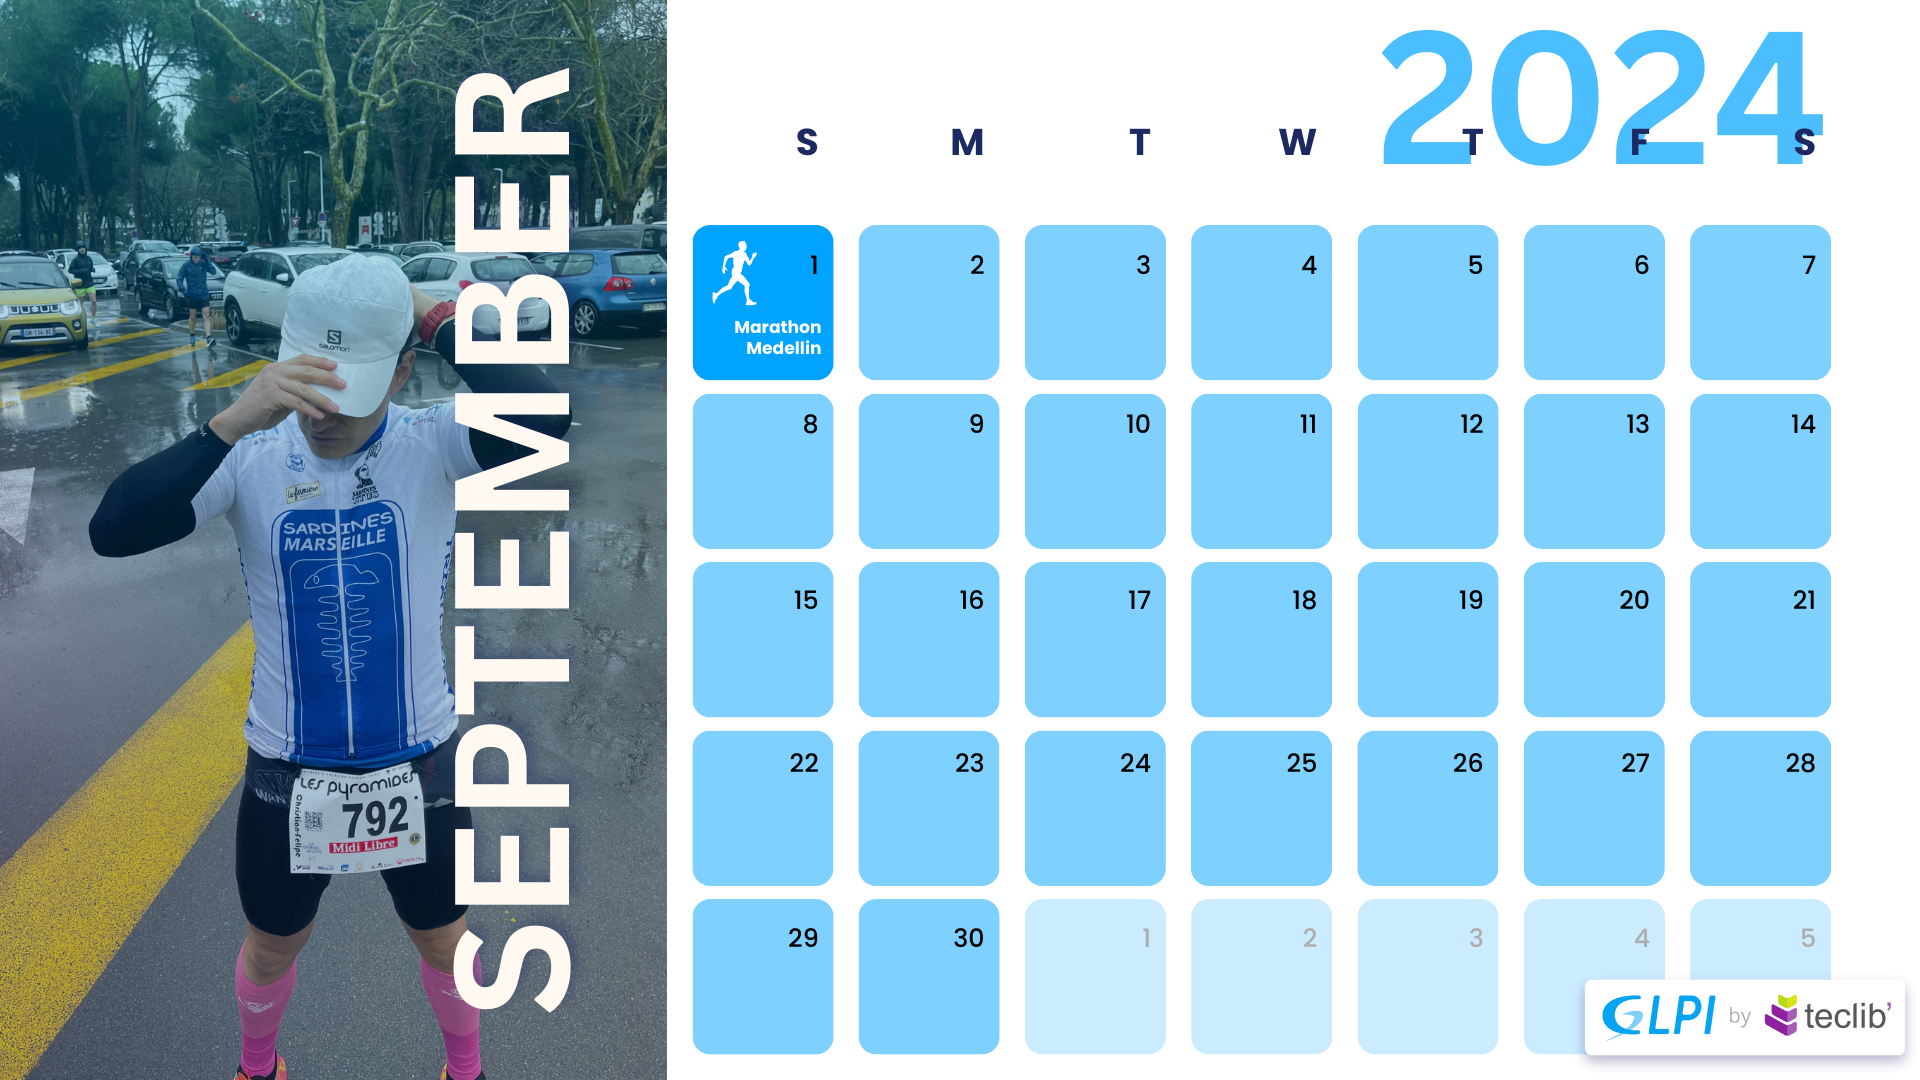
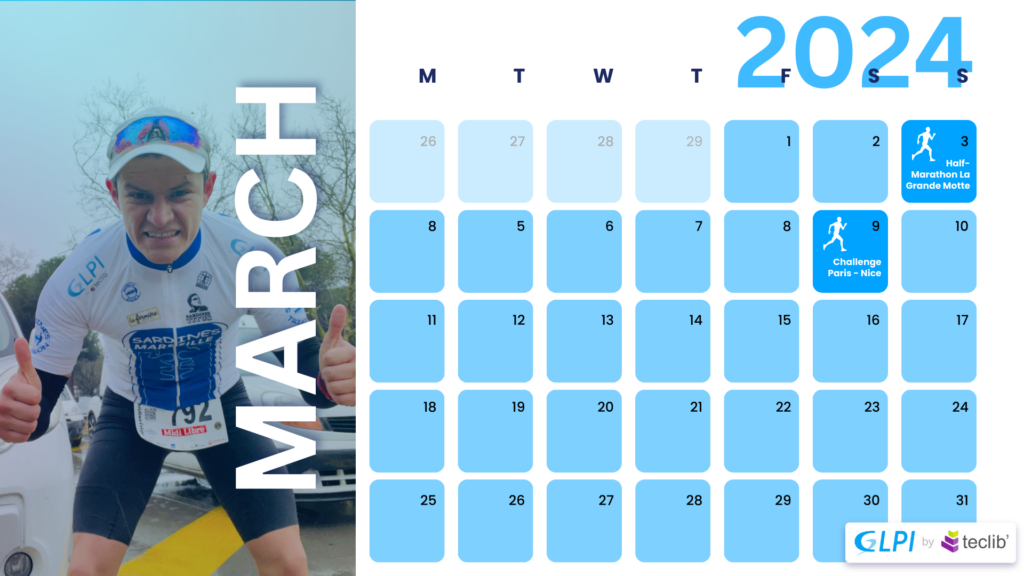
Keep track of the race calendar and remember to support Christian by following us on social media!
Race schedule organized for Christian and sponsored by Teclib’
We are delighted to announce that Teclib’ will be supporting our associate Christian Osorio Bernal, member of the Club Sardines Triathlon Marseille, in the Half-Marathon in La Grande-Motte, France 💪
This year, we’re continuing this tradition to champion and back Christian, not only our colleague but also an outstanding athlete!
We wanted to know how Christian was feeling previous to the race and he shared with us:
“I am extremely happy to be able to run again under the Teclib – GLPI banner! The renewed confidence and support for 2024 set some very exciting goals throughout the year.
In 2 days, I’ll be wearing my first bib for a Half-Marathon in Grande-Motte with the aim of beating my personal record and achieving 1h26! It won’t be easy, even though the preparation over the past 2 months has generally gone very well. The last two weeks have been challenging, but the work is done, the sessions respected, the heart rate adjusted to the target pace of 4’07min/km … however, the course of the race still presents many relaunches and turns that will need to be negotiated with caution, muscles will be called upon to be present and ready to endure these intensity variations!
This Half-Marathon aims to improve my speed and undertake smart preparation for the two main goals of 2024! There will be a cycling race on March 9, the stage of the Paris-Nice Challenge. With these first two races, the goal is to remind the body and mind that on July 25 and September 1, it will need to be ready!
Since the EmbrunMan, the enthusiasm and love for pushing boundaries has known no limits, So I’ve decided to go for a marathon under 3 hours! I did the Valencia Marathon (Spain) in December 2023 with a time of 3h09! One of the most beautiful races I’ve done and experienced, so for the sub-3 hours, I’ll go to Colombia to run the Medellin Marathon, at 1500 meters altitude, after 9 years without returning! A moment that promises to be rich in emotions, sharing with my family on the other side of the Atlantic, the love for sports and the Marathon!
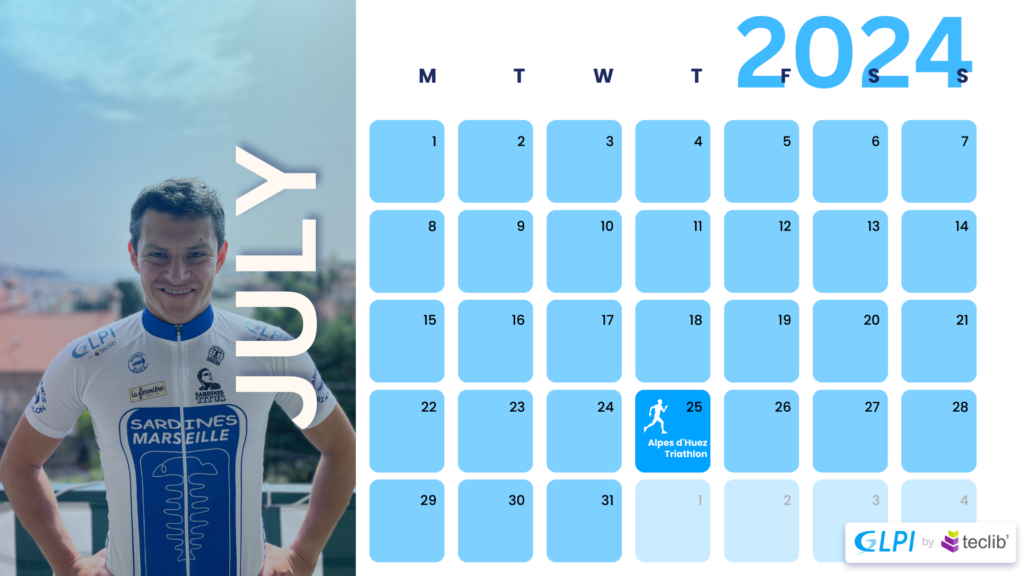
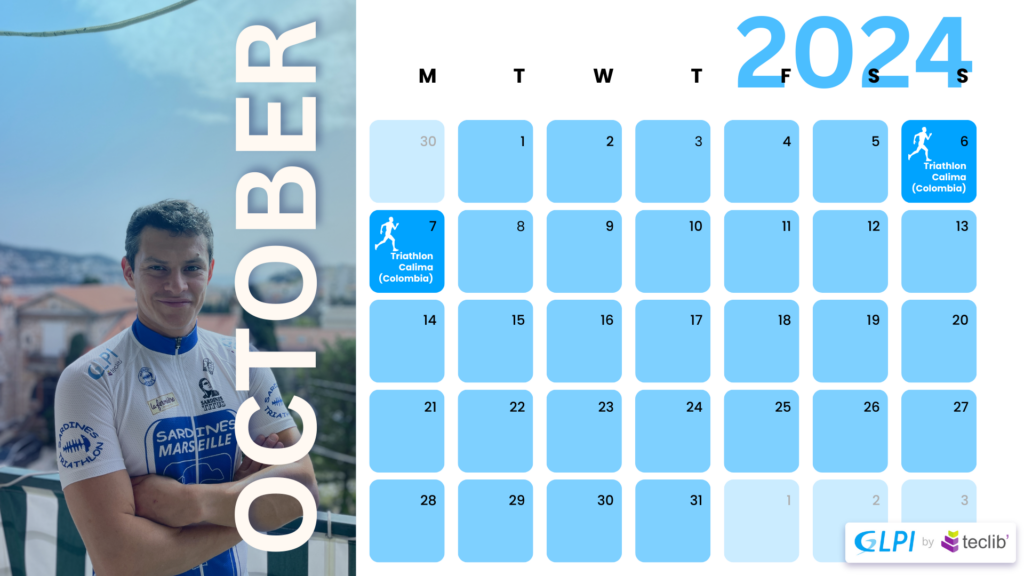
But in the meantime, we haven’t forgotten the triple effort, so with Teclib – GLPI, we’ll be present at the Alpe d’Huez Triathlon to face a demanding race due to the elevation gain, altitude, and heat on July 25, 2024! An objective that will see 82 Sardines present, an international race and one of the most beautiful in France! Another Triathlon is scheduled for early October in Cali (Colombia), but this will depend on my recovery status from the Medellin Marathon!
So, 2024 promises to be rich in emotions, with athletics, cycling, triathlon, and a sponsor who commits once again to this adventure, but this time throughout the year. A heartfelt thank you for this important support throughout this new year!
See you soon with the race stories”
After the race, he told us:
“The excitement was high for this first race with a target time of 1h26. I had apprehensions due to several days of accumulated fatigue, a sleep debt that had already impacted my recent training sessions. I must be honest… I hesitated to start when I saw the weather forecast indicating rain throughout and gusts of wind up to 55km/h. These were not optimal conditions to enjoy a race, let alone perform well. Doubt lingered, but the joy of competing and the excitement of running for what I had trained for quickly took over.
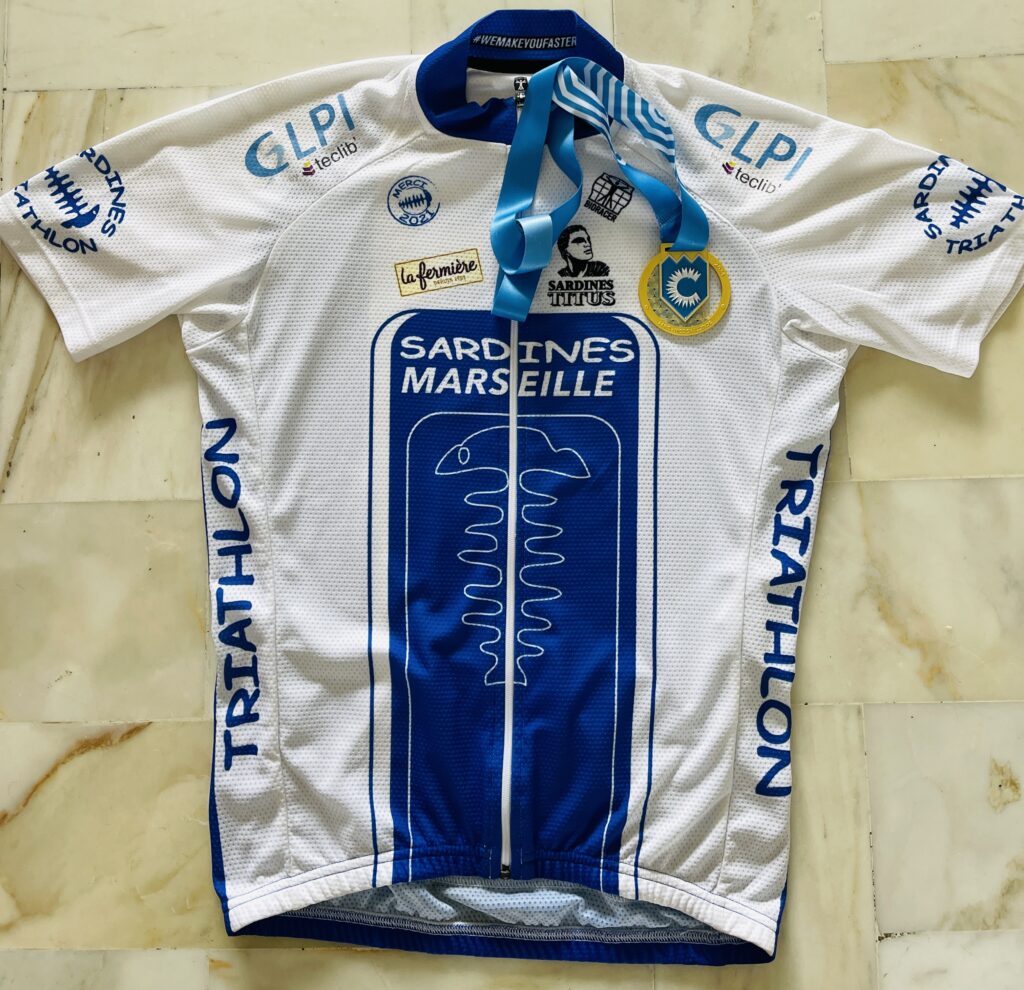
First bib, first great joy of the year!!
Certainly satisfied with the result, but not forgetting to mention the flooded parts of the course, the mud, the ups and downs that had to be negotiated with caution to avoid further muscle trauma or risk of falling. Shoes completely soaked, my water bottle lost at the 10km mark… it was not looking good!
But the EmbrunMan and Marathon experiences reminded me that the greater the difficulty, the more beautiful the end!
So, I gathered myself, mentally adapted to the conditions, asked my body to follow my instructions, and give its best once again.
It was there for me again, connecting with the mindset now ready to set aside the difficulties and embrace the joy that the Half Marathon brings!
My condition at 17km was akin to that of 36km into a marathon! That’s the goal indeed, the Medellin Marathon (Colombia) on September 1st.
The new objectives added to this race have become resilience, endurance, and determination.
The result is not bad at all, 1h28:52 sec, despite not achieving the 1h26 goal, I equaled my time record, considering the weather conditions, as in October 2023, I had done 1h28:32 secs at the Semi-Marathon de Vincennes.
A big thank you for taking the time to read, see you soon for the next race on March 9, 2024: Challenge Paris – Nice (140km/2800D+) in Nice, France.”
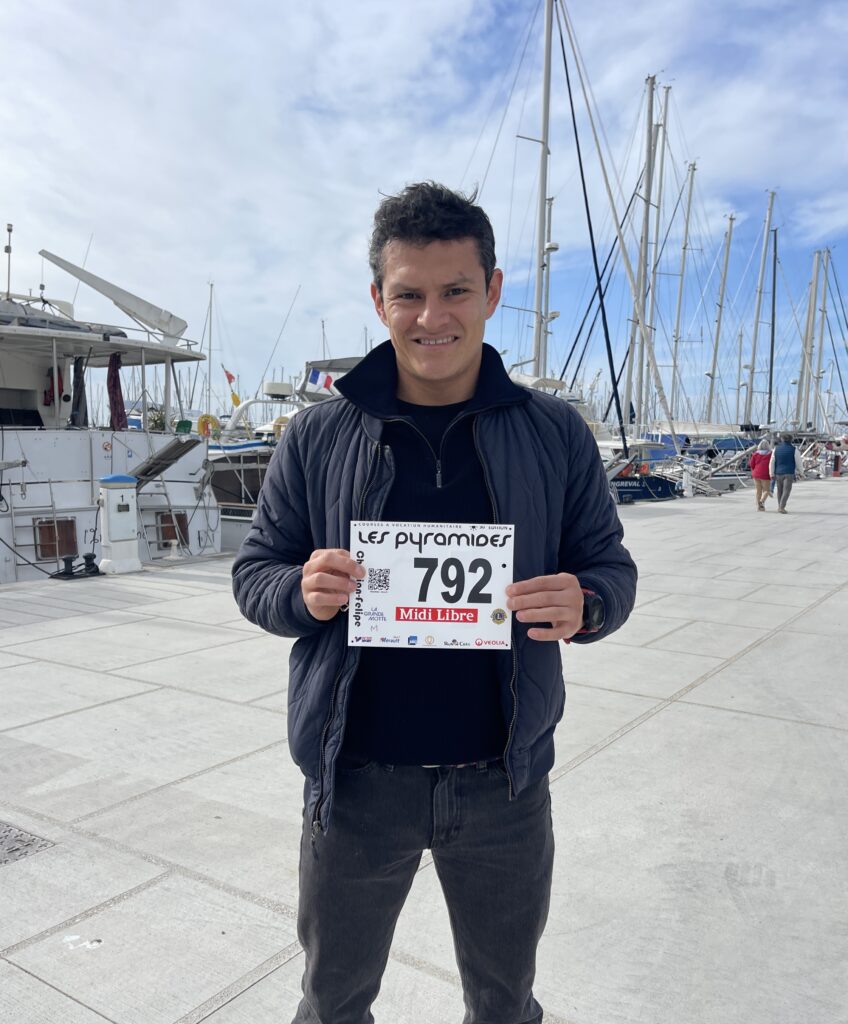
Christian after completing the race!
Keep track of the race calendar and remember to support Christian by following us on social media!
Race schedule organized for Christian and sponsored by Teclib’
Congratulations ! We are happy to announce our new Silver GLPI Network partner in France: BLConseils.
BLConseils has been providing outsourced IT services for small and medium-sized enterprises (SMEs) in Nouvelle Aquitaine since 2004. In compliance with the GDPR, BLConseils offers services based on GLPI with 17 years of usage and deployment. A pioneer in the use and commercialization of GLPI, BLConseils continues to innovate through GLPI in eco-friendly computing.
We are excited that GLPI ITSM solution is becoming more and more represented all over the world and GLPI Network (our support offer for on-premises – get your IT Infrastructure secured) subscription service will be available for more customers through our new partners.
Our large partnership network is always open for new collaborations. If you are interested in representing one of our products in your country, get in touch with us: https://glpi-project.org/contact_us/
Being a partner means:
Having an a direct access to the Teclib´s tech expertise;
Get special discounts;
Access official support,
Many other tools which will help you to gain more customers and increase reputation on the market by adding open source ITSM to your portfolio.
We would like to announce a new plugin — Centreon— available to all GLPI Network Cloud customers and for everyone with a marketplace registered (free tiers) !
The plugin use the Centreon API to retrieve informations about hosts and display them in corresponding computers (matching the name).
The tab shows services informations with their statuses, and a timeline of events.
You can also send a few actions to the distant server like:
Force a refresh
Set a downtime
Acknowledge an alert
This is the first version of the plugin and we will continue to work on it and deliver more features (metrics, widgets for our dashboards, listing of all services, etc) soon.
We use cookies to ensure that we give you the best experience on our website. If you continue to use this site we will assume that you are happy with it.